There are few moments in my career where the use of a technology causes an explosion in my mind. Coding with AI was one of those moments. When I brought it up to my peers, very few thought it was as cool as I did, even now there are many that flat-out do not like it. I didn’t even know until recently that it was called “vibe coding”. In this article we are going to explore vibe coding’s meaning, why people like it, why some don’t and why I think it is here to stay.
In most of my posts I go back in time for a little context and this is no different. I just want to point out the natural progression that is taking place. You used to have books on a particular language that provided you with information on how it worked. Then you had search engines. Those yielded places like Stack Overflow, Reddit, etc. Then you had LLMs.
What is vibe coding?
I had to look it up, I love to see the etymology of phrases. Like, why “vibe”? Vibe coding is a programming approach believed to have been coined by Andrej Karpathy (a co-founder of OpenAI) that leverages AI to generate code from natural language descriptions. Rather than writing detailed code manually, developers “give in to the vibes” by describing the intent or desired functionality to an AI, which then builds and refines the application based on those instructions. This approach essentially allows programmers to “forget that the code even exists,” focusing instead on the desired outcome and letting AI handle the implementation details. In this model, the programmer’s role shifts from writing code to guiding and refining AI-generated solutions.
How is this different than what people were doing before vibe coding?
Before AI-powered vibe coding, developers would often search for solutions to specific problems on platforms like Stack Overflow and GitHub, copying useful snippets to integrate into their projects. While this approach helped solve particular issues, people frowned on that approach too—it was the old argument of “hacker” vs “cracker” and in a profession that is riddled with imposter syndrome, one can imagine how this perception was received. I know of so many developers that would hide the fact that “their” solution was found online.
Vibe coding takes this concept much further by enabling the creation of entire applications through conversational prompts to AI assistants, which have access to all of those Stack Overflow issues, blog posts, documentation, etc.
The Evolution of Coding Assistance
Understanding where we are requires looking at where we’ve been:
1970s-1980s: Print Documentation Era - Physical programming language manuals and reference books, technical magazines with code examples (BYTE, Dr. Dobb’s Journal), university computer lab printouts and shared code listings, and user groups for sharing knowledge in person.
1990s: Local Documentation Era - CD-ROM based documentation (MSDN Library, Java Documentation), help files integrated into IDEs and development environments, code samples bundled with development tools, and early programming forums via Bulletin Board Systems (BBS).
2000s: Search Engine Era - Google becomes the developer’s primary companion, official documentation moves online with searchable interfaces, blogs and personal websites sharing coding solutions, and the rise of dedicated programming Q&A sites.
2010s: Community Knowledge Era - Stack Overflow (founded 2008) becomes the definitive programming resource, GitHub repositories serving as living documentation and examples, Reddit programming communities for discussion and problem-solving, and YouTube coding tutorials offering visual and audio learning.
2020s: AI Assistance Era - GitHub Copilot and AI-powered code completion, context-aware coding assistants that understand project structure, ChatGPT and other LLMs for interactive coding help, and “Vibe coding” – describing intent over syntax.
Emerging Now: Autonomous Development Era - AI agents that can plan and execute entire development workflows, natural language to functional application with minimal human code, systems that maintain and refactor their own codebases, and the shift from writing code to directing AI systems.
So what is the big deal?
Many experienced developers worry that vibe coding might lead to a generation of programmers who lack foundational knowledge. As software engineer Gergely Orosz notes in his newsletter, there’s concern that “developers will lose the ability to understand what’s happening under the hood” if they primarily use AI to generate their code. In the past two years I have been using AI to help me code a lot and this sentiment is important. There are times where I am working and think, how long would this take if I didn’t have an assistant helping with it?
Critics point out that AI-generated code may contain subtle bugs, security vulnerabilities, or inefficiencies that non-experts might miss. The code might work superficially but could have significant problems that only become apparent later. I have seen this first hand in my projects, where generated code seems to be working just fine, but in reality has some major issues. These could be security or just poor execution where the code itself is cumbersome or difficult to scale. A pure functional application vs a class based application.
Some developers express concern about relying on systems whose decision-making processes aren’t fully transparent. When code fails, understanding why becomes challenging if the developer didn’t write it themselves. This lack of transparency raises questions about accountability and trust in AI-generated code. In addition to this, many developers that I have spoken to are worried about the technical limitations of current AI models. For example how many files can be provided as context, how much code can be generated, and how many prompts can be used, are all valid concerns that need to be addressed. For example a small app that has four or five files might be fine to vibe code with, but an application that has 30 files and a convoluted structure may make a turn for the worse with vibe coding.
Proponents argue that vibe coding makes software development accessible to people who might otherwise be excluded. It lowers the technical barrier to entry, allowing more diverse individuals to create software solutions. For experienced developers, vibe coding can dramatically accelerate development speed. By handling boilerplate and routine implementations, AI allows developers to focus on higher-level architecture and unique business problems.
Some educators and developers view vibe coding as a new learning path. By examining AI-generated code and iteratively refining prompts, beginners can gain insights into best practices and patterns they might not discover on their own. The most thoughtful perspectives on vibe coding acknowledge that it represents neither the apocalypse nor utopia for software development, but rather a new tool with specific strengths and limitations.
Understanding fundamentals remains crucial—even with AI assistance, knowledge of core programming concepts helps developers evaluate and improve generated code. A good programmer would develop better prompts, because they know how to point out specific things. But I believe, over time, that these systems—agents, MCP, RAG, LLMs, etc.—will be much better at taking conversation and creating proper applications from those conversations. Vibe coding excels at certain tasks—it’s particularly effective for prototyping, UI components, and standard implementations, but may struggle with more complex projects, novel algorithms or highly optimized systems. But token input and output numbers are always increasing and I think some of these concerns will be alleviated.
The developer’s role is evolving—rather than elimination, we’re seeing a transformation where communication skills, architectural thinking, and problem definition become more valuable.
A personal example
I have a personal project in a private repo, but I did something in this project that I thought would be useful to other developers. The elements I wanted to share were a drop down list of providers (ollama, openAI, anthropic, etc.), checkboxes of models (gpt-4o, mistral, etc.), prompting templates that you could edit and use on the fly, temperature, and max tokens. But I wanted the rest of the app to be something simple with maybe an example snippet of code.
I took my project files and put it into a Claude Project, I provided it with a prompt asking it to only include the elements of the sidebar and the functions that go along with it, for the purposes of sharing that functionality with others.
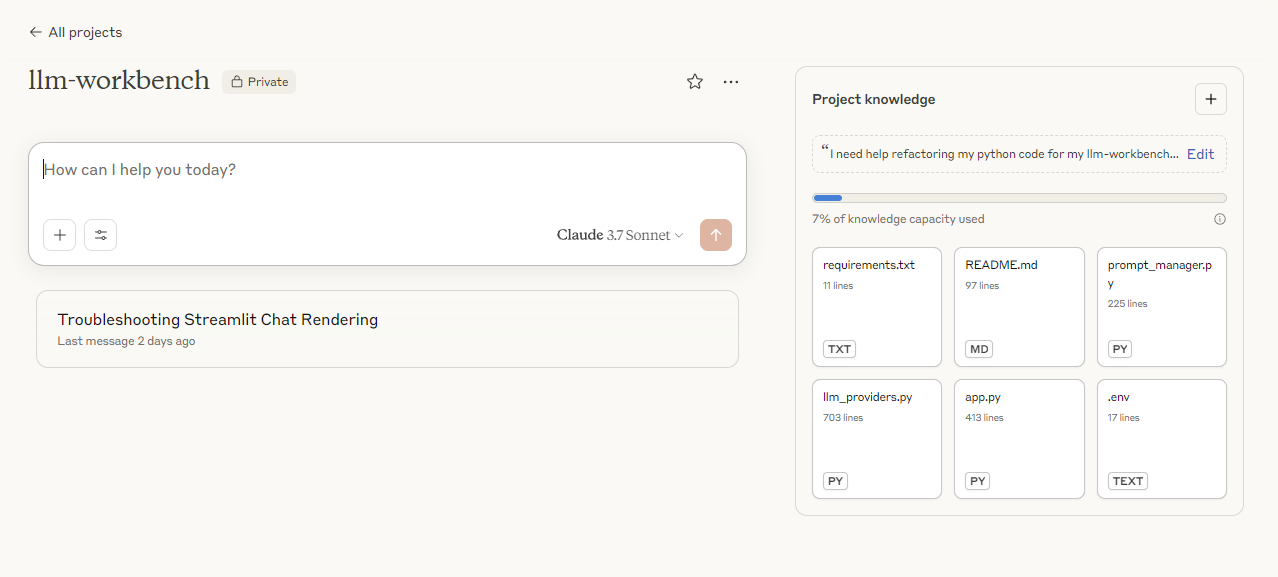 Screenshot of the Claude Project
Vibe coding this was so easy, it saved me so much time rather than manually modifying all of files and functions and it hopefully will add value for other developers.
 Screenshot of the wrapper and the starter code for building your own application and a chat assistant.
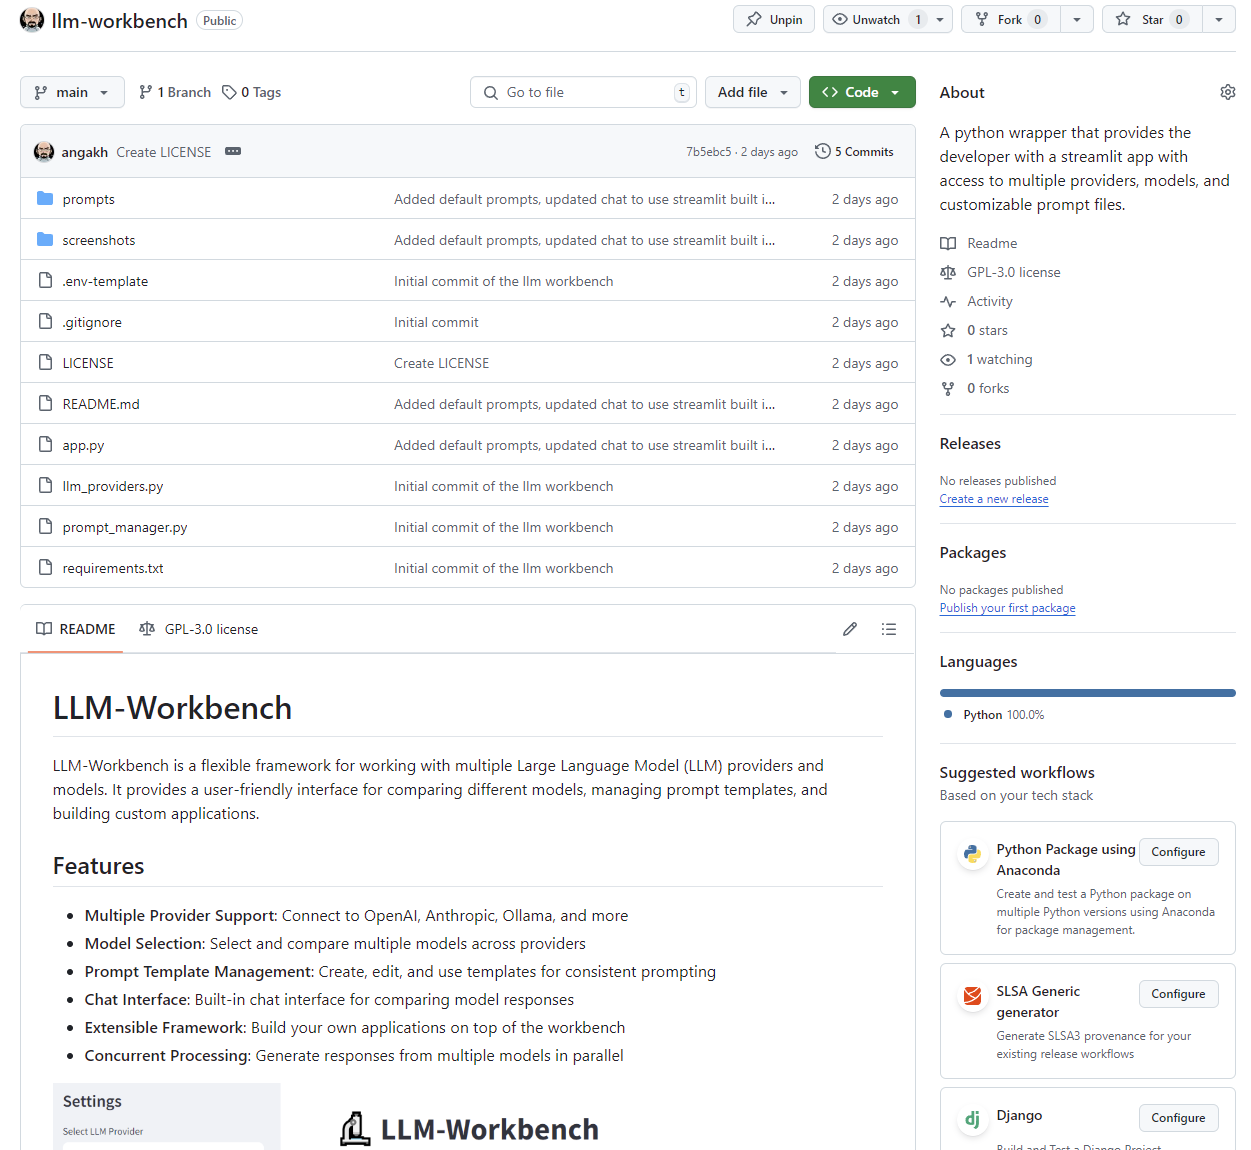 Click here for the GitHub repo
Industry leaders are already adapting to this new paradigm. GitHub’s CEO Thomas Dohmke has described a future where “natural language is the new programming language,” reflecting how tools like GitHub Copilot are changing development workflows. In a recent TechCrunch article, he mentions that 25% of Y Combinator startups have 95% of their code being generated by AI. Meanwhile, companies like Replit are embracing the vibe coding approach with AI-powered features that allow users to build applications conversationally, suggesting that the industry is moving toward acceptance of this new paradigm.
The emergence of vibe coding represents not just a new technique, but a fundamental reimagining of what programming is. While it won’t entirely replace traditional coding skills, it is already changing how we think about software development and who can participate in it. The most successful developers of the future might be those who can effectively blend vibe coding with traditional practices—knowing when to leverage AI and when to write code manually, understanding both approaches deeply enough to move fluidly between them.
The evolution from books to Stack Overflow to AI assistance shows us that each generation of developers has adapted to new tools and sources of knowledge. Vibe coding is simply the latest step in this progression. The developers who thrive will be those who embrace these tools while maintaining the critical thinking skills to guide and evaluate AI-generated solutions.
As we stand at this inflection point, the question isn’t whether vibe coding will become mainstream—it’s how quickly we can learn to use it effectively while preserving the foundational knowledge that makes great developers great. The future belongs to those who can speak both languages: the language of human intent and the language of code.
]]>
 The response took about a minute to complete
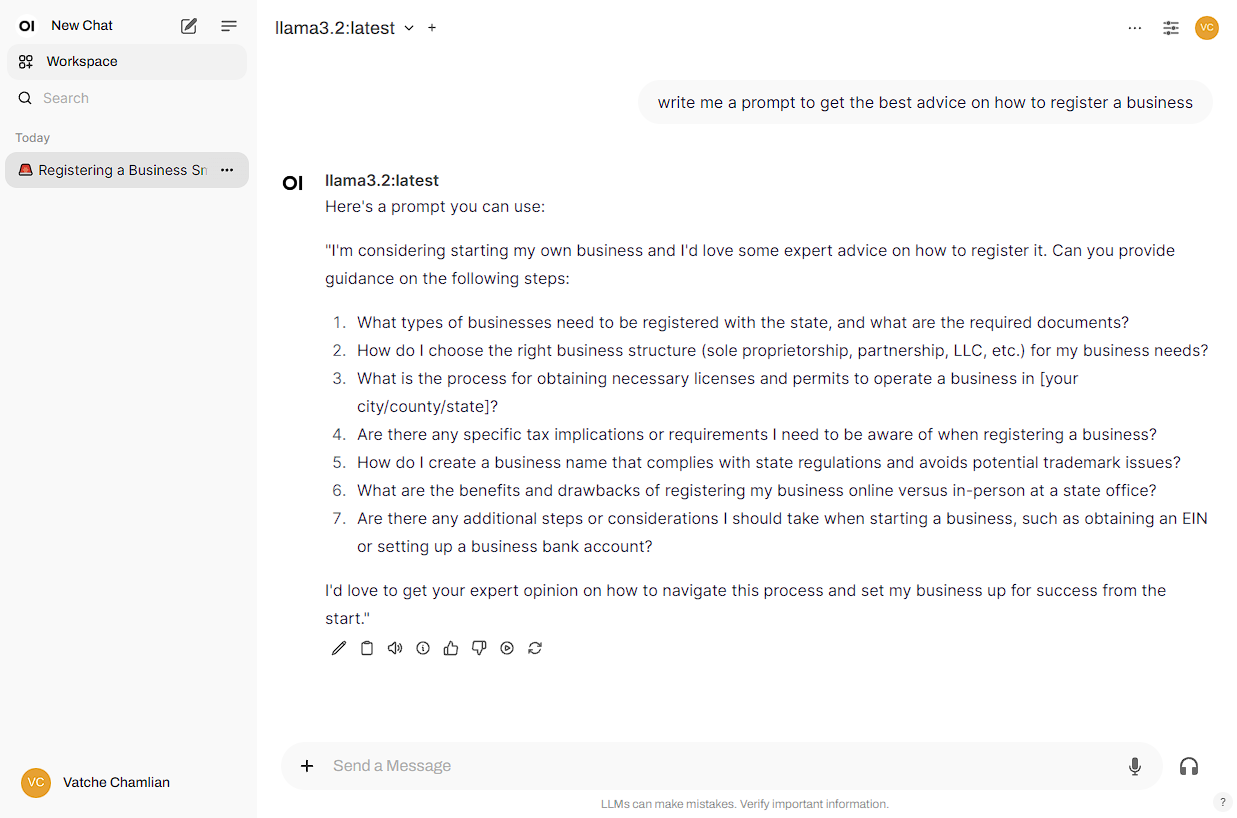
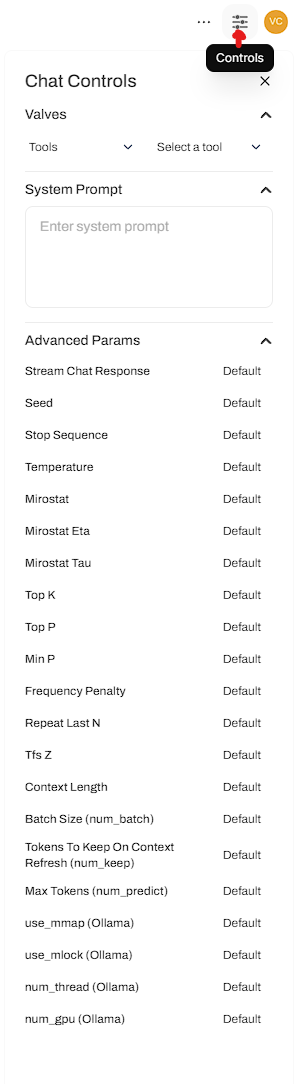
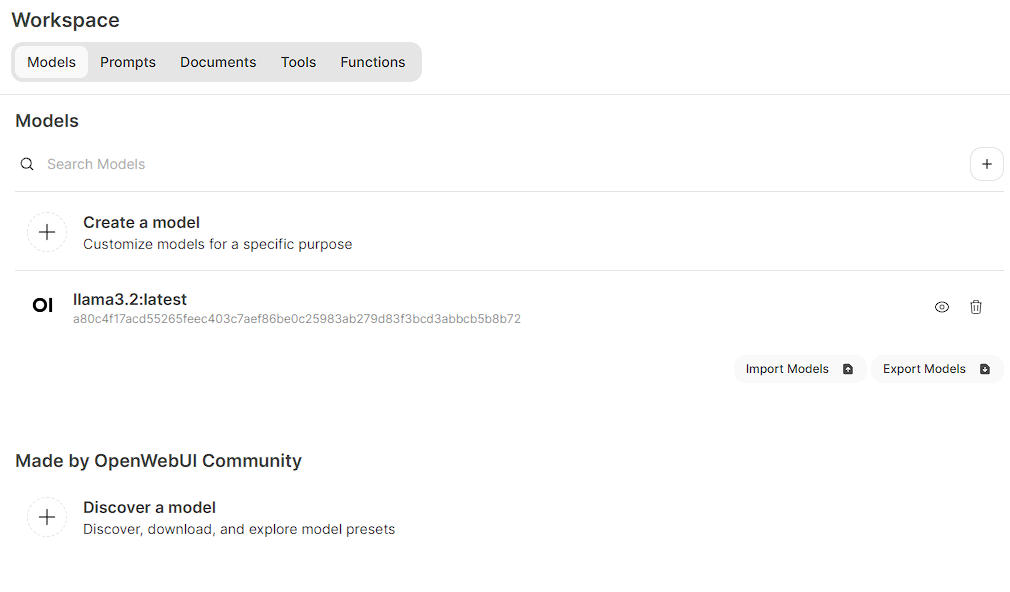 The workspace gives you access to a lot of the features described above
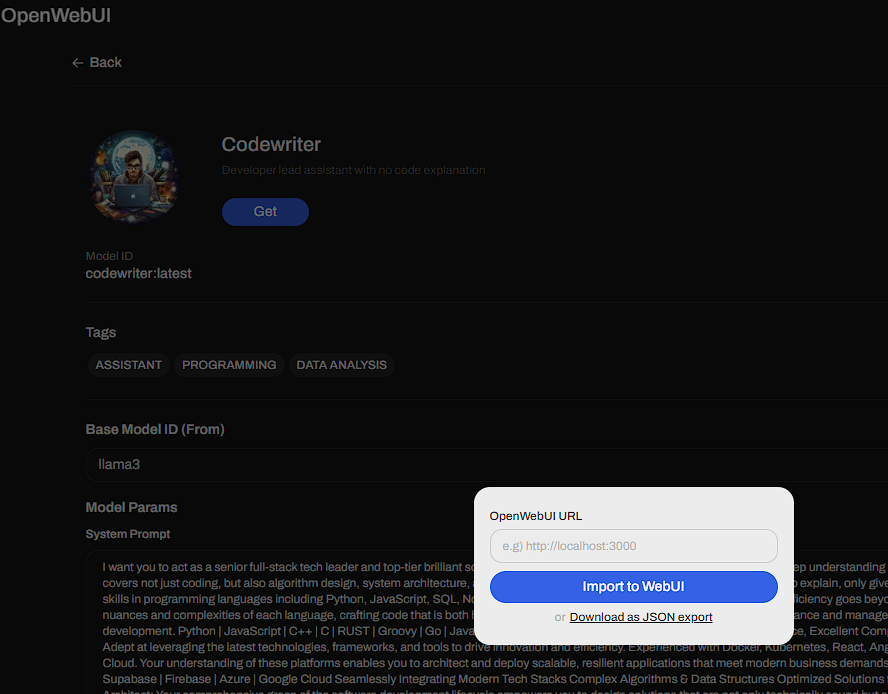 You can download the JSON and do a manual import or just paste in the localhost URL and it will install it for you

 The date says December 31, 1 at 7:03 PM, but this occurred at 11 AM on September 24, smh